

Using ultrasound to place a transvenous pacer
Ultrasound can guide every step of emergent transvenous pacer (TVP) placement: vascular access, confirming wire position, ruling out pneumothorax, and floating the pacer wire into the right ventricle.
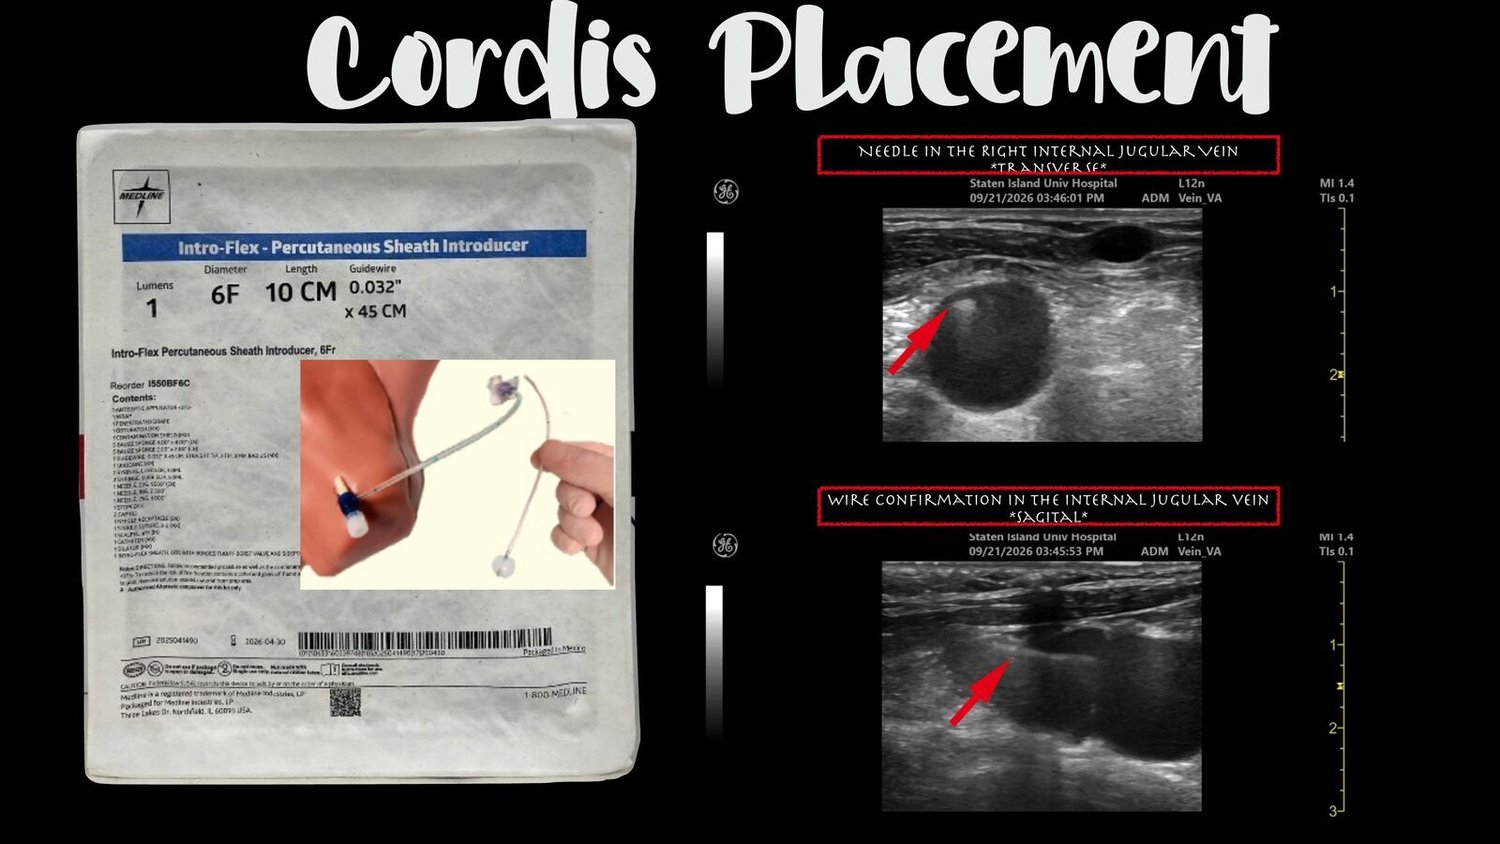
Step 1: Cordis (introducer) placement
Place the needle in the right internal jugular vein under ultrasound guidance in the transverse view.
Confirm the wire is in the internal jugular vein in the sagittal (long-axis) view.
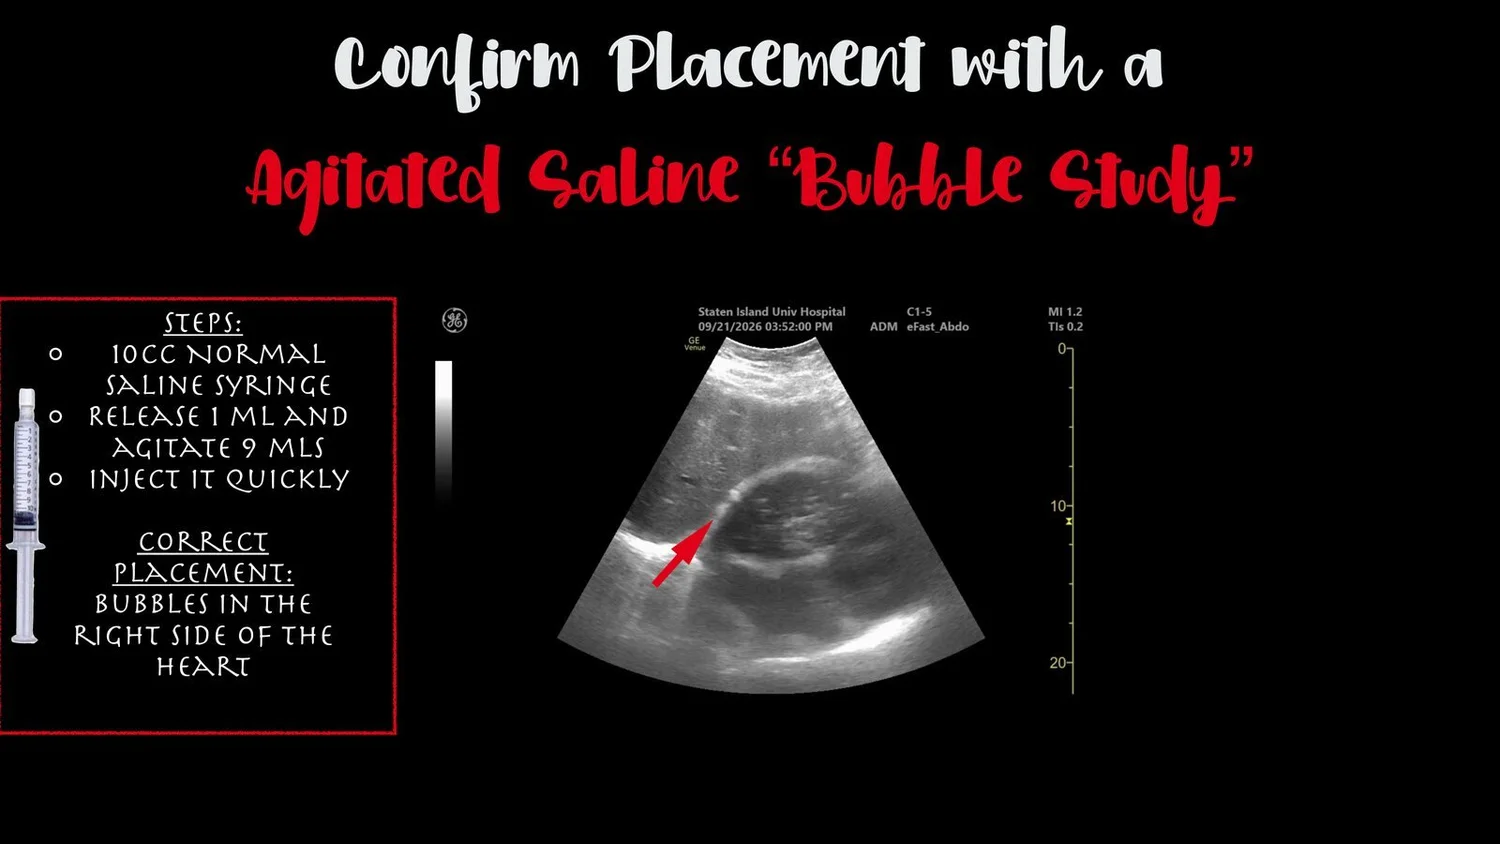
Step 2: Confirm placement with an agitated saline "bubble study"
Use a 10 mL normal saline syringe.
Release 1 mL and agitate the remaining 9 mL.
Inject quickly.
Correct placement: bubbles appear in the right side of the heart.
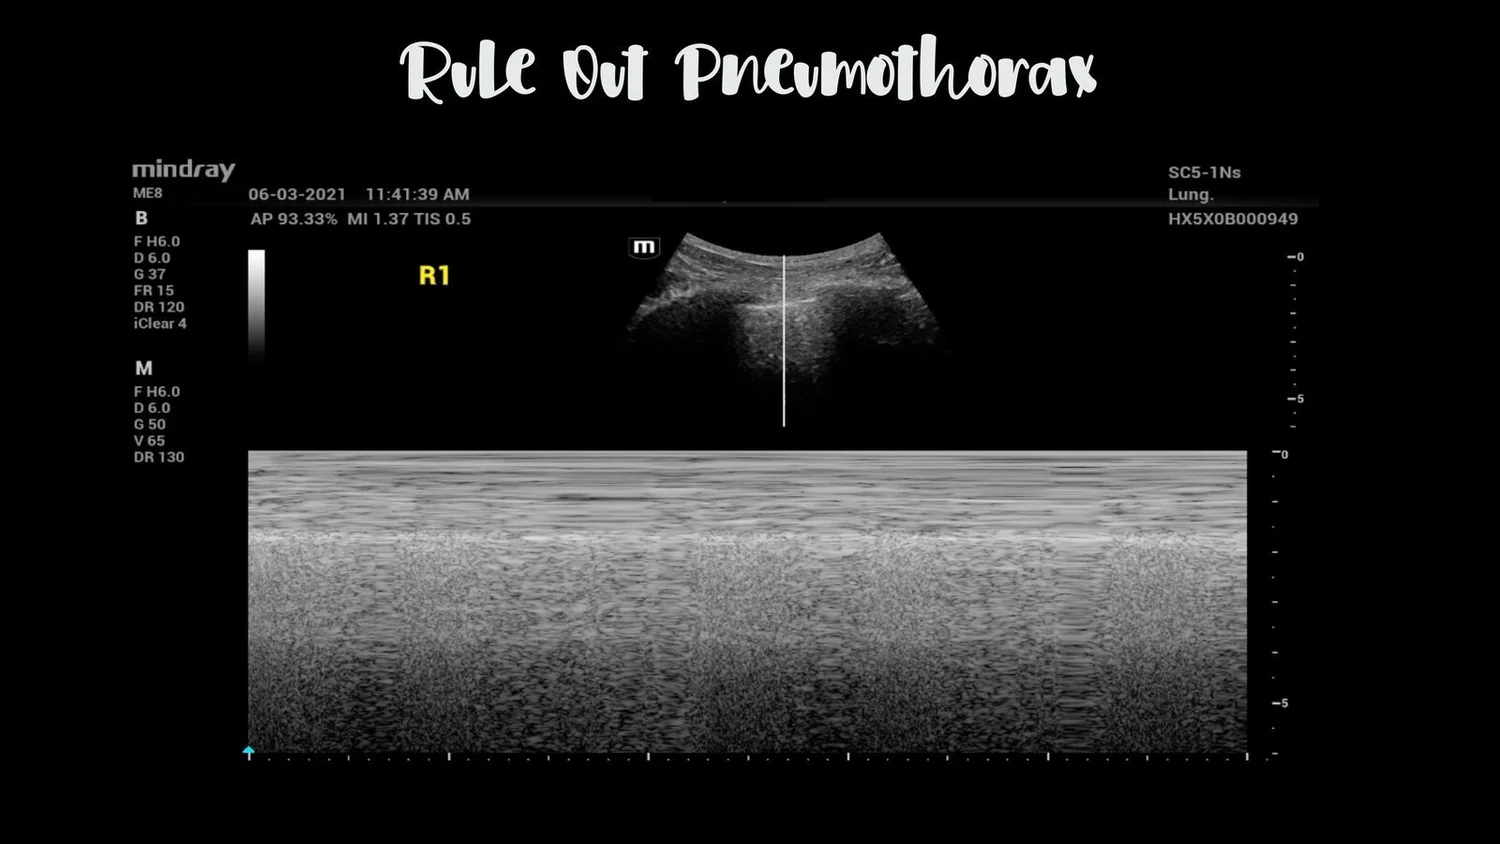
Step 3: Rule out pneumothorax
Use ultrasound to rule out a pneumothorax.
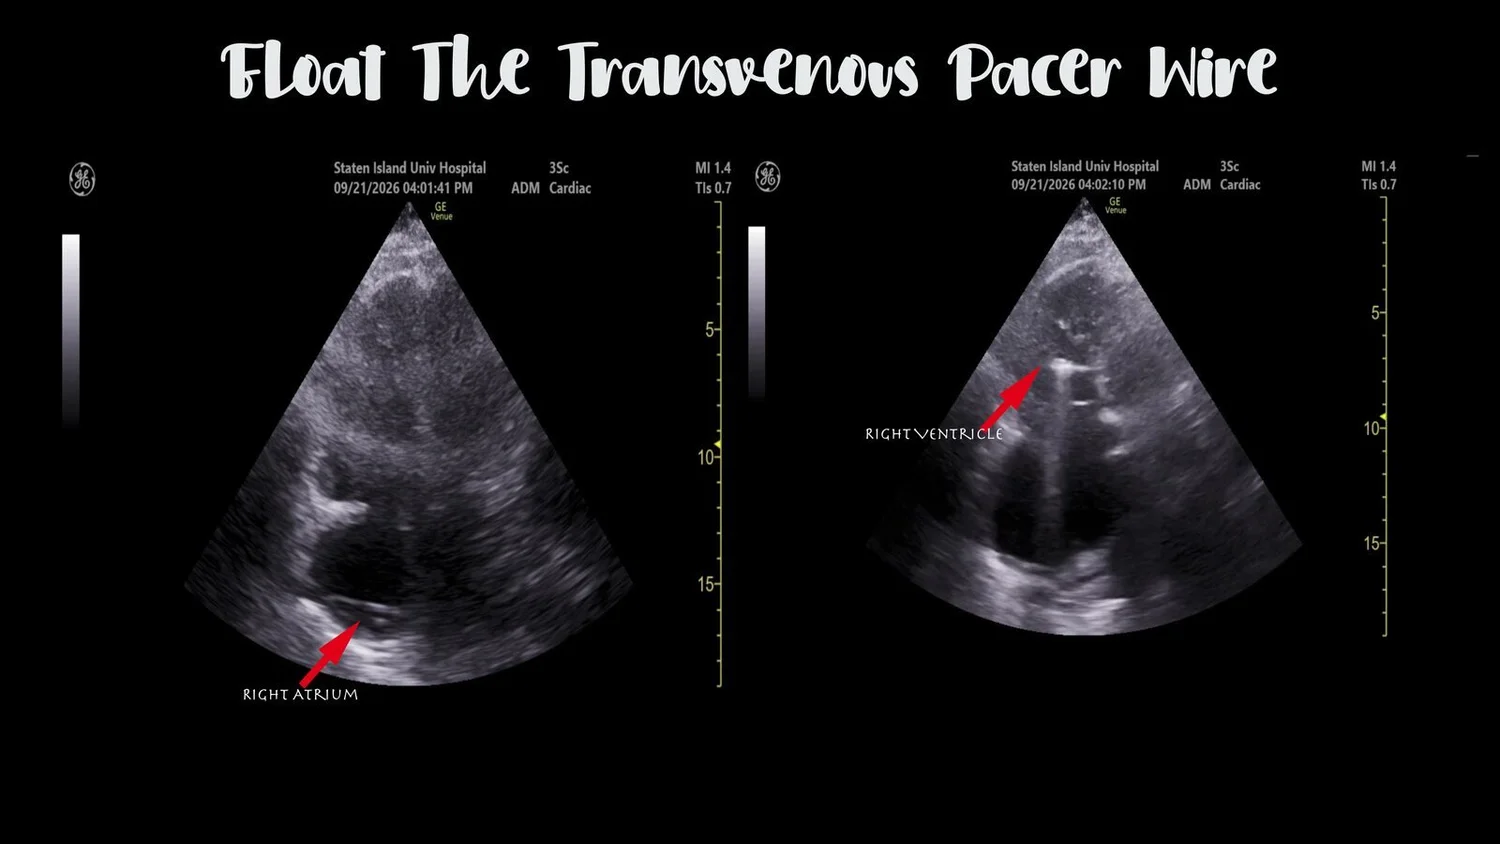
Step 4: Float the transvenous pacer wire
Visualize the pacer wire as it passes through the right atrium into the right ventricle.
Step 5: Set the pacer and confirm capture
Start settings: asynchronous mode, rate about 80, output at maximum (usually 20 mA).
Electrical capture: every pacer spike is followed by a wide QRS complex.
Mechanical capture: confirm a pulse that matches the paced rate on the monitor and pulse oximeter, or see ventricular contractions on bedside ultrasound.
Set the output: lower the output until capture is lost, then set it at 2.5 times that threshold.
Then: switch to demand mode and get a chest X-ray.
Source: Transvenous pacing, First10EM
Clinical pearls
Ultrasound at every step: guide the needle, confirm the wire in the vein, confirm placement with bubbles, rule out pneumothorax, and watch the pacer wire enter the right ventricle.
Check the wire in two planes: needle in the transverse view, wire confirmation in the sagittal view.
Bubbles in the right heart confirm venous placement quickly at the bedside.